David Hier Render Studio: 3D Modelling & Rendering and Architectural & Product Visualisation

Sketchup Batch Rendering With Thea Render
by Nige Copeland
Setting Up Your Scene In Sketchup
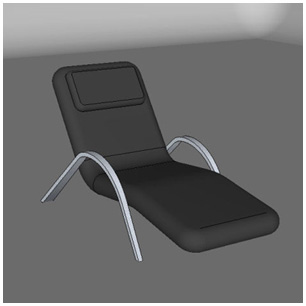
Open your scene, and place your current view to where the first scene will start.
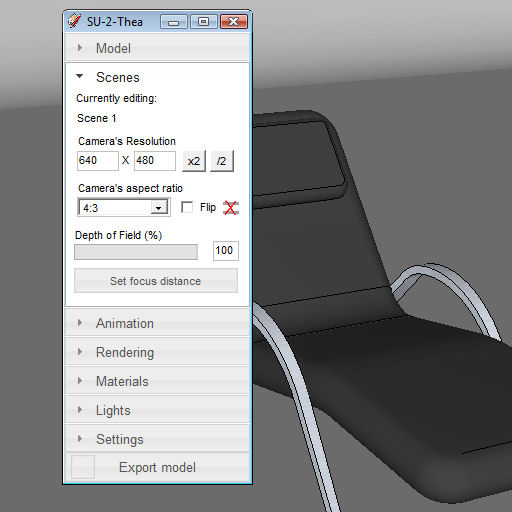
We will now setup Thea’s exporter. First select the Scenes tab and change the camera settings to the size you would like your final renders to be.
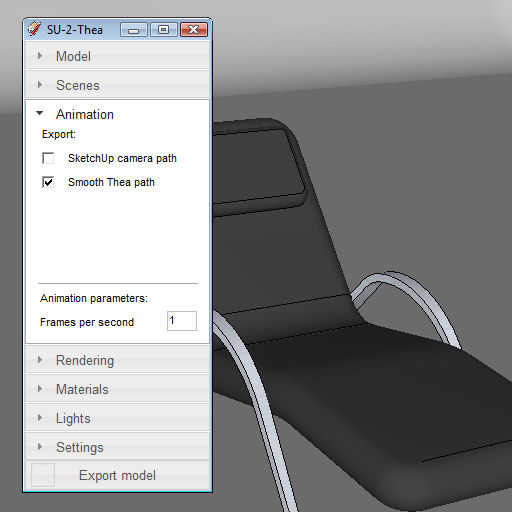
Now select the Animation tab, check the Smooth Thea path option and change the Frames per second to 1.
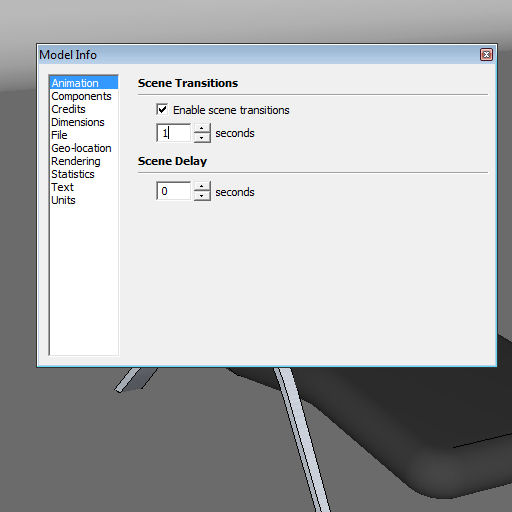
Now we will adjust the Sketchup animation Properties. Select View, animation and then settings: change Scene transitions to 1, and Scene delay to 0.
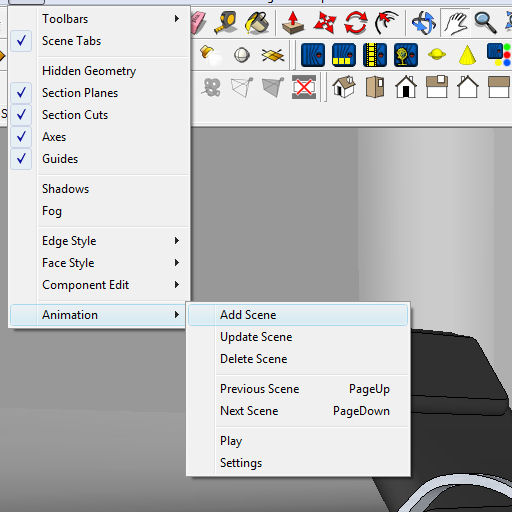
Now you can create your various shots by creating a new scene for each of the views you want.
You are now ready to export your scene to Thea.
Things to Do in Thea
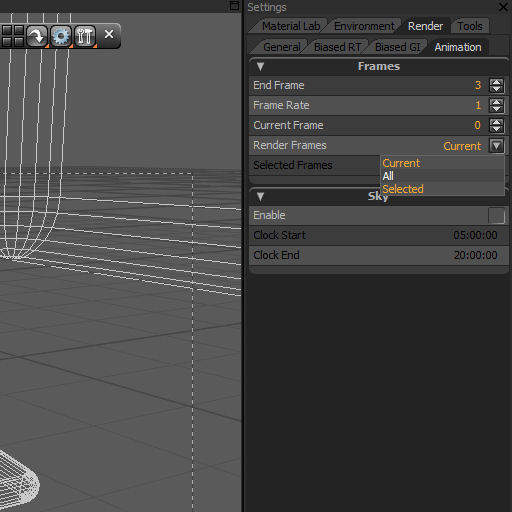
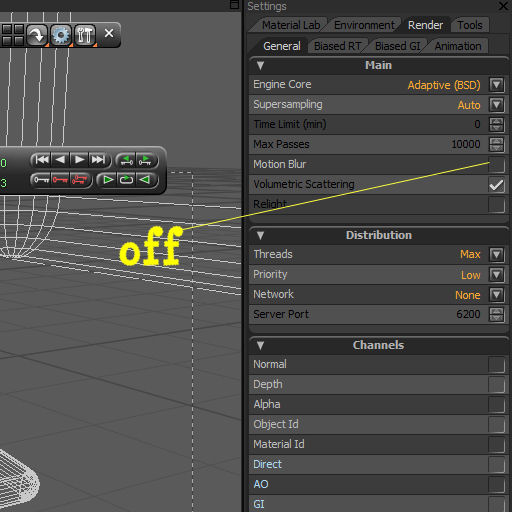
We need to set Thea to render all frames click the render tab and select animation change render frames to all.
Turn motion blur off in render, general properties.
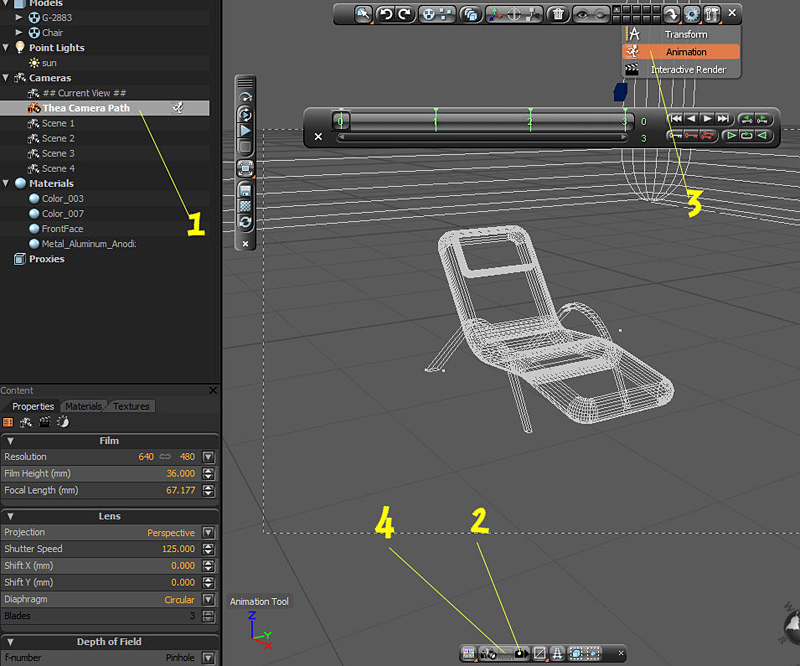
Finally check the camera is working:
- 1/ Select Thea camera path camera
- 2/ Click the camera icon so view the scene through that camera
- 3/ select the animation time line panel
- 4/lock the camera
If you advance the timeline the camera will now move to the correct position.
We are good to go, well almost! If you are using unbiased you will need to set a pass limit - I usually do a area render first to see how long takes.
About the Author
This tutorial was written by Thea Render beta tester Nige Copeland. You can contact Nige via email and view examples of his work via his deviantART gallery.
More Tutorials
More tutorials written by Nige Copeland: